
After
a long and tiring day, what could rescue you but a bowl of Kichadi. Kichadi is
the perfect comfort food for Indians. Easy to make a One Pot Meal. Breakfast,
brunch or dinner, Kichadi is the epitome of convenience. Kichadi is usually
made with combination of grains and dals , cooked till soft and mushy, just
thicker than porridge.
Masala
Kichadi/ Masala Bath is sumptuous meal of rice with vegetables and an appetizing
dry masala powder made of simple spices. Garnish with fresh coriander leaves
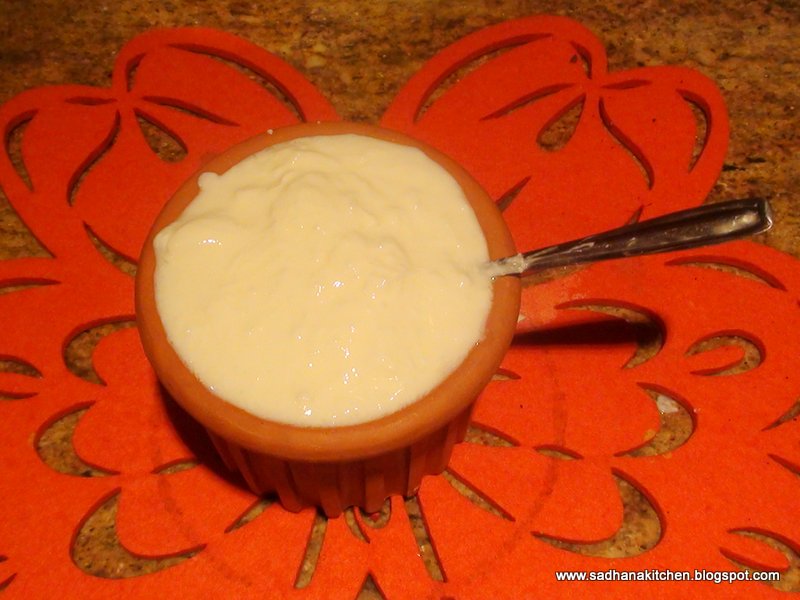
and serve it with a raita or plain curd.
Preparation
Time : 10 Minutes
Cooking
Time : 20 Minutes
Soaking
Time : 30
Minutes
Servings : 4 Nos.
Ingredients:
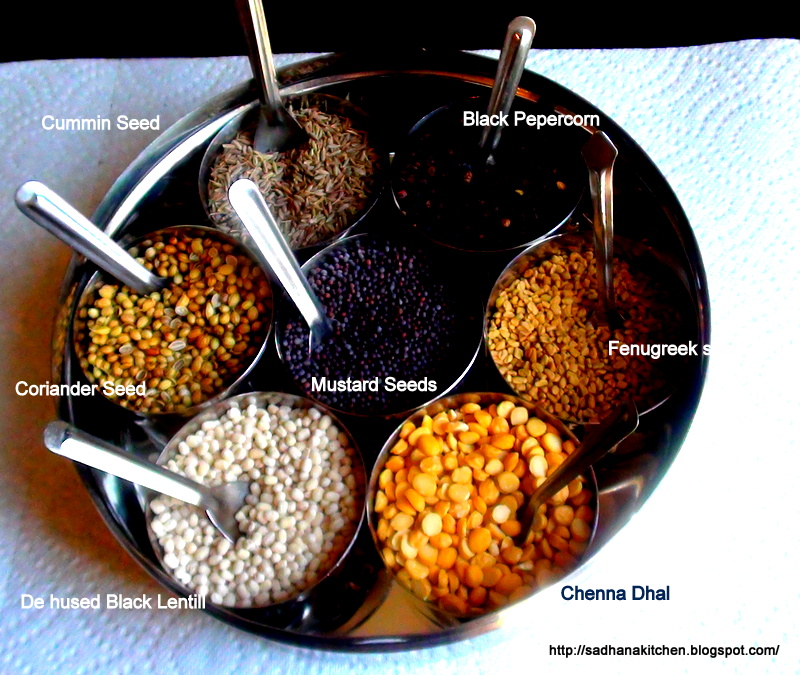
Raw
Rice 1 Cup
Tovar
Dal 1 Tablespoon
 Moong
Dal 1 Tablespoon
Moong
Dal 1 Tablespoon
Tomatoes 2 Nos.
Green
Chilies 2 Nos.
Grated
Ginger 1 Tablespoon
Turmeric
Powder ½ Teaspoon
Salt To Taste
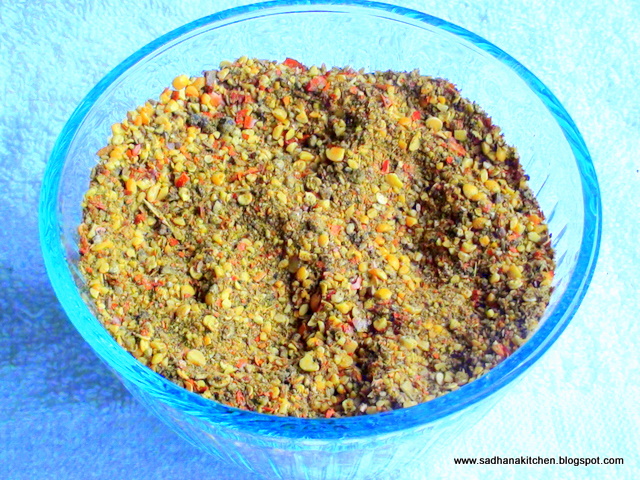
For Dry Masala Powder
Cinnamon
sticks 2 nos.
Fennel
Seeds 1 Tablespoon
Cloves 5 nos.


Green
Cardamoms 7 nos.
Chutney
Dal 1 Tablespoon
Red
Chillies 2 -3 nos.
Dhania
Powder ½ Teaspoon
Cumin
Powder ¼ Teaspoon
Garam
Masala Powder ½ Teaspoon
Tempering
Oil/
Butter /Ghee 1
Tablespoon
Mustard
Seeds 1 Teaspoon
For
Garnishing
Chopped
Coriander Leaves
Method:
Wash
and soak the rice with dals for 30 minutes. Chop the tomatoes and Green
chillies and keep aside.


For Dry Masala Powder:
- Heat a pan on medium heat. Dry roast the cinnamon, cloves, cardamoms, red chillies, chutney dal, fennel seeds for 2 to 3 minutes.
- Take the spices out, add Garam masala powder, cumin powder and dhania powder in it. Transfer to blender pot. Blend it into course powder. Keep aside.

For Masala Bhat
- Heat a oil in Pressure cooker, add Mustard seeds and curry leaves, let them splutter.

- Now add the chopped tomatoes, Grated ginger and Green chillies and fry for a minute.
- Drain the rice and dals add into the tomato mix and sauté for minute.
- Add two cups of hot water, Turmeric powder and Ground Dry masala Powder and salt . Mix it well. Pressure cooker for 5 whistles . Turn off the heat

- Allow the steam to escape before opening the lid. Mix well the Kichadi.
- While
serving garnish with dollop of ghee, coriander leaves.
- Serve with Pickle, Curd and Pappad
Note:
- As khichdi cools will become little thick.
- Re heat the Kichadi and eat.
- Add vegetables of your choice like cauliflower, tindora or brinjal into kichadi

Enjoy
Cooking!.


